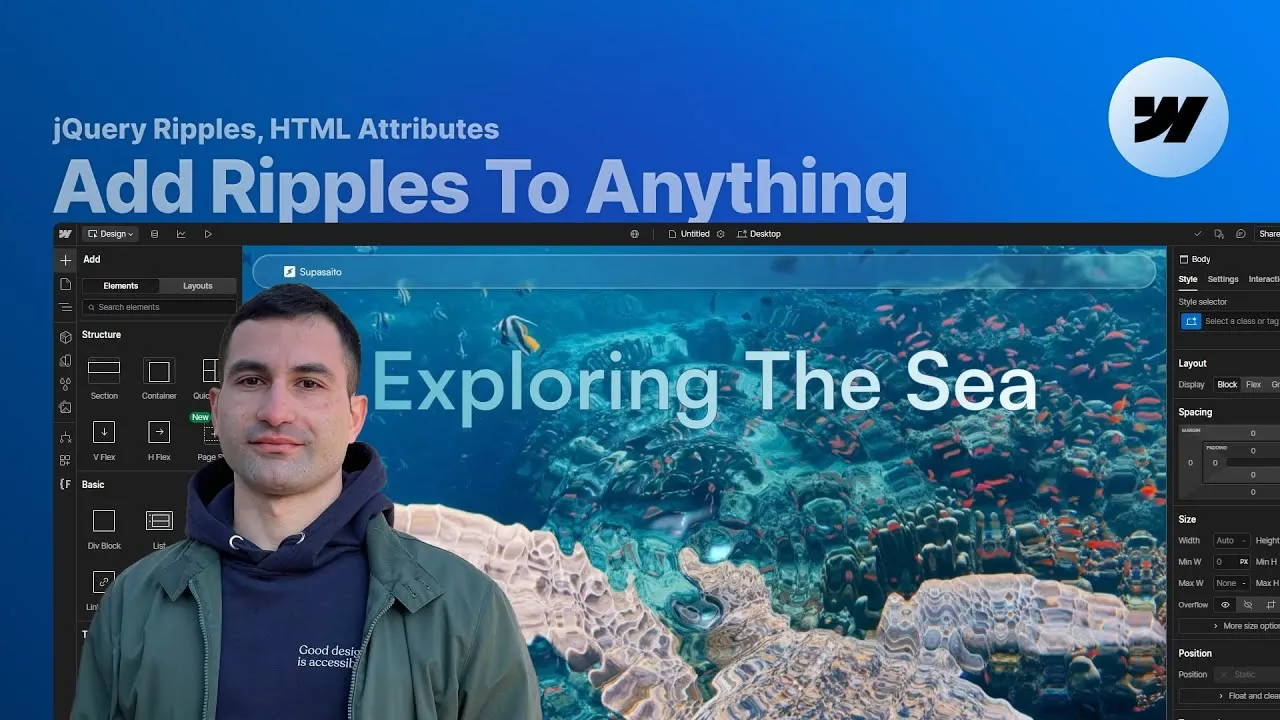
Add an interactive water ripple effect to any section or element in Webflow — the kind that reacts to your cursor and gently distorts the background like the surface of a pond — with zero code and full control over how it looks. It runs on a lightweight jQuery plugin with a bit of WebGL magic on top, wrapped in a clean attribute-based system so you can use and tweak it even if JavaScript isn’t your thing.
The nicest part is that it just works out of the box. Mark one element with a single attribute and you get sensible defaults immediately — then, if you want, open a live panel to fine-tune the feel right in the browser before baking your favorite values back into Webflow. The exact same setup scales from a single hero banner all the way up to a full CMS gallery.
And because WebGL effects can be heavy, it ships with the escape hatches that actually matter: disable it on mobile with one attribute, and give visitors a real toggle button — proper ARIA and all — so they can pause it whenever they like.
How it works
The one rule that trips everyone up: the effect needs a background image. The plugin uses WebGL to distort a CSS background image — not an <img> tag, and not any image sitting inside the element. So whatever element you want to ripple must have the image assigned as its background (with background-size: cover on a section, so it fills the space and scales cleanly). Drop a native image in and nothing will happen; that single detail is behind most “why isn’t it working” moments.
One attribute, then defaults. You mark the target element with fc-ripples="component" and that’s genuinely enough — the script reads three parameters (resolution, drop radius, perturbance) and falls back to reasonable defaults whenever you haven’t set them. That’s on purpose: you can prototype instantly and only fine-tune when you care to. When you do want to tune, add fc-ripples-config="something" and the script generates a live GUI panel labeled with your value. You adjust the sliders in the browser, watch the water change in real time, and — once you find the sweet spot — go back into Webflow, remove the config attribute, and hard-code your numbers as data-resolution, data-drop-radius, and data-perturbance. Clean, optimized, production-ready, with no panel shipping to visitors.
The CMS trick is the clever bit. A background image doesn’t occupy space in the layout — it has no width or height of its own — so if you built a gallery purely from background images, the items would collapse. The fix: keep a real <img> in each item to define the size and aspect ratio, then layer an absolutely-positioned overlay div (all offsets 0, so it covers the item exactly) on top of it, bind the overlay’s background to the same CMS image field, and apply fc-ripples="component" to the overlay. You get the layout from the real image and the effect from the background — the best of both worlds. Because Webflow won’t let you configure each CMS item individually, you put fc-ripples="group" and fc-ripples-config="gallery" on the Collection List itself: the script collects every component inside that group and drives them all from a single shared panel. That’s what keeps it manageable across dozens of items.
Performance and accessibility are built in, not bolted on. WebGL can be demanding, so fc-ripples-disable-mobile tells the script to skip a component entirely on small screens — and when it does, hiding the toggle button makes sense, because there’s nothing left to toggle. That toggle is a button element marked fc-ripples="toggle" that pauses and resumes the effect at runtime; it carries aria-label so screen readers announce what it does, and aria-pressed that flips between true and false to communicate the current state. Giving people a clear way to stop motion-heavy effects is exactly the kind of control good sites offer.
How to use it
-
Clone the project. Grab the Webflow cloneable — it includes the full structure, both examples, and a single fully-commented script (in Page Settings → Before
</body>) that loads the jquery.ripples plugin and lil-gui for the panels. A summary table of every attribute lives at the bottom of the cloned page. -
Simple section. Give a section a background image (
background-size: cover, not fixed, no tiling), then addfc-ripples="component". Publish and hover — you already have ripples on defaults. -
Tune it live (optional). Add
fc-ripples-config="hero"to open the labeled GUI panel on the live site. Adjust resolution, drop radius, and perturbance until it feels right — see the configuration reference above for what each does and its useful range. -
Bake in your values. Remove
fc-ripples-config, then adddata-resolution,data-drop-radius, anddata-perturbancewith the numbers you landed on. Now it loads production-ready without the panel. -
CMS gallery. In each Collection Item, keep the real
<img>for layout, add an overlay div (position: absolute, full offsets, background bound to the CMS image,background-size: 100%), and mark the overlayfc-ripples="component". On the Collection List, addfc-ripples="group"andfc-ripples-config="gallery"to control the whole set from one panel. -
Add the escape hatches. Put
fc-ripples-disable-mobileon components that shouldn’t run on phones, and drop in a realbuttonwithfc-ripples="toggle"(plusaria-labelandaria-pressed) so visitors can pause and resume the effect themselves.