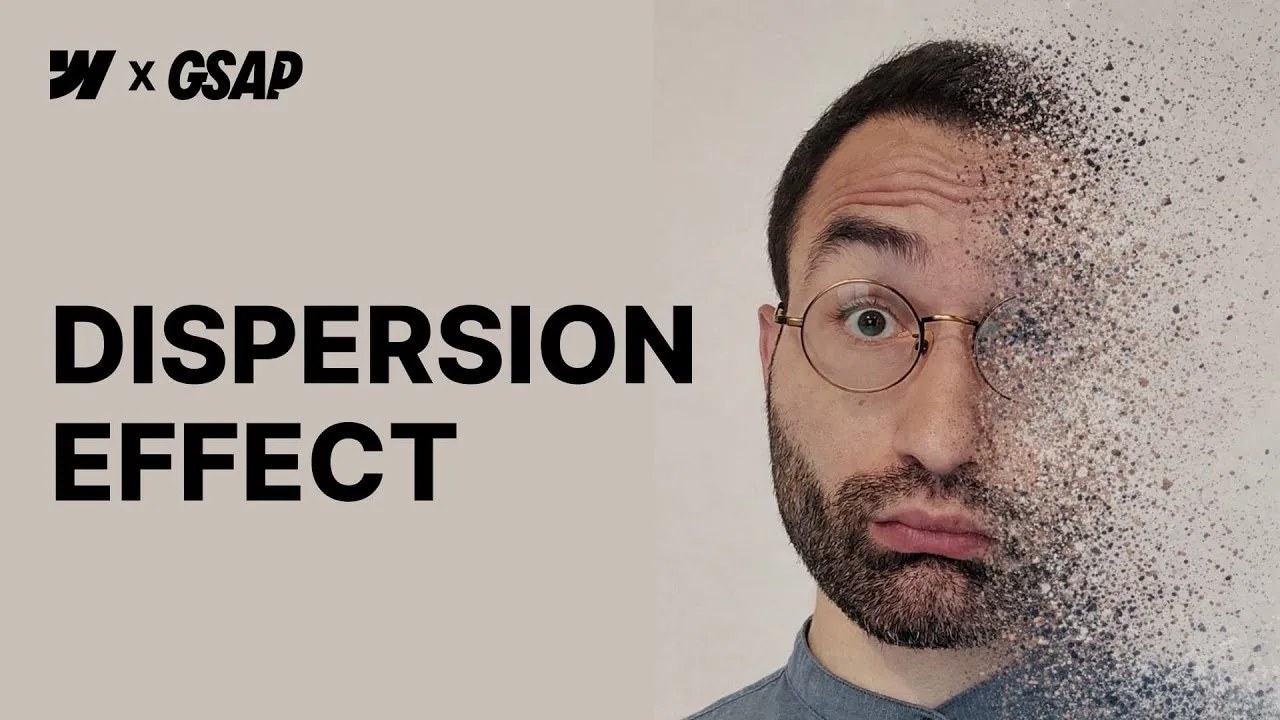
Build a GSAP Disintegration Effect in Webflow

Intermediate 19:50 webflowgsapscrolltriggerdisintegrationcmsanimation

Create a scroll-triggered disintegration effect in Webflow with just a few GSAP attributes — no code editing, works on CMS content, and stays accessible.

Key takeaways

  • The whole effect is attribute-driven — you drop one script in and mark a single element, then everything else is configured from Webflow's settings panel with optional attributes that fall back to sensible defaults.
  • Your component must have a non-static position (relative, absolute, fixed, or sticky), because the generated canvas fragments are absolutely positioned against the nearest non-static ancestor — leave it static and they anchor to the body and fall apart.
  • Wrap the effect in an overflow: hidden container: the fragments are real DOM elements that occupy space, so without clipping they spill out of the viewport and cause layout issues.
  • Accessibility is preserved automatically — when the script swaps the original image for its canvas version it captures the alt text and reassigns it, so screen readers get the same experience.
  • The effect is genuinely heavy (many canvases plus pixel manipulation per component), so reserve it for one to three key visuals per page and feed it optimized images under about 900px wide.

Video chapters

  1. 00:00 Intro
  2. 00:51 Activate The GSAP ScrollTrigger plugin
  3. 01:13 Understanding the structure
  4. 05:08 How to configure the disintegration effect
  5. 08:57 Accessibility
  6. 10:00 Effect preview and responsiveness
  7. 11:20 Where to find the documentation
  8. 11:57 Code Explanation
  9. 15:17 Tips on how to optimize the disintegration effect
  10. 17:04 How to combine this effect with Webflow native animations
  11. 19:06 Outro

Turn any image into a cloud of pixels that scatter as visitors scroll — a scroll-triggered disintegration effect you build in Webflow with nothing but a handful of GSAP attributes. There’s no custom code to edit, it works on CMS content, and it stays fully accessible.

The magic is that all the heavy lifting — snapshotting the image, splitting it into canvas fragments, animating each one on scroll — happens behind the scenes. Your job is to mark one element and, if you want, tweak a few optional attributes. Every attribute ships with a sensible default, so you can publish it as-is and fine-tune later.

It’s a showpiece effect, so treat it like one. It’s genuinely heavy under the hood, and it shines brightest on a single hero image or a few key visuals — especially when you layer it over Webflow’s own scroll interactions.

How it works

The concept is simple even though the script behind it isn’t. You mark the element you want to disintegrate with fc-disintegration="component", and on load the script takes a snapshot of that image using the html2canvas library, extracts its pixel data, and rebuilds it as a batch of canvas fragments. It then scatters those fragments across the element, gives each a bit of random rotation and a directional offset, and fades them out on scroll using GSAP ScrollTrigger. You never open the code — you label the piece and, optionally, tune the feel from Webflow’s settings panel.

Two structural rules make it behave. First, the component must have a non-static position — relative, absolute, fixed, or sticky all work. That’s because the generated canvases are absolutely positioned, and absolute positioning is always calculated against the nearest non-static ancestor. Leave the component static and the fragments anchor to the body instead, and the whole thing falls apart visually. Second, wrap the effect in a container with overflow: hidden. The fragments are real DOM elements that occupy space, so without clipping they can spill out of the viewport and trigger layout issues like a stray scrollbar.

Accessibility is handled for you. To work around cross-origin issues the script temporarily removes the original image and reloads it as a base64 blob — but before it does, it captures the original alt text and reassigns it to the image it generates. Screen readers get the same experience they would with the untouched image.

The trade-off is cost. Each instance creates a stack of canvases, walks every pixel, duplicates and scatters them, then animates the lot on scroll. That’s a lot of work, so this is not an effect to spray across an entire CMS grid — reach for it on the visuals that deserve the spotlight, and lean on the optional attributes only when you want tighter control over rotation, distance, cascade, or scroll timing.

How to use it

  1. Activate ScrollTrigger. In your Webflow project settings, enable the GSAP ScrollTrigger plugin and save — it’s the one prerequisite the effect relies on.

  2. Clone the project. Grab the Webflow cloneable. Full documentation — every attribute, its default, quick examples, and the GSAP docs link — lives at the bottom of the cloned page.

  3. Mark your component. On the element you want to disintegrate, add fc-disintegration="component" and give it a non-static position (relative works perfectly). Inside it, place your image with width: 100% so it scales cleanly.

  4. Clip the overflow. Give the surrounding section overflow: hidden so the scattered fragments never leak past the layout.

  5. Configure the feel (optional). Want fragments to fly farther, spin more, cascade differently, or start and end at a different scroll position? Add any of the fc-disintegration-* attributes from the configuration reference above. Leave them off and the defaults handle it.

  6. Publish and test on the live site. The designer’s built-in “preview custom code” doesn’t render this effect reliably, so publish the page and check the real link. It adapts to responsive layouts automatically, because each canvas is generated from the layout as it currently appears.

  7. Layer it with native animations (optional). The effect pairs beautifully with Webflow’s own While-scrolling-in-view interactions — animate a heading’s letters or add gradient overlays around the image, and set custom disintegration attributes on the same wrapper to orchestrate timing and intensity together.

Configuration reference

Attribute Values Default What it does
fc-disintegration component The role marker that tells the script which element to disintegrate. Put it on the div you want to scatter — this is the one required attribute.
fc-disintegration-active-on-mobile true · false true Whether the effect runs on mobile breakpoints, from tablet downward. Set it to turn the effect off on smaller screens where the extra canvases are most costly.
fc-disintegration-rotation-angle degrees 30 The range of random rotation for each fragment. The actual value is randomized between minus the attribute divided by two and the attribute divided by two.
fc-disintegration-rotation-amplitude pixels 40 How far the fragments travel from their original position — raise it and the pieces fly off farther.
fc-disintegration-cascade-offset number or percentage 5 The stagger between each fragment's animation. Use 0 for no delay, or a value like 10 (or a percentage like 2%) to have each fragment animate slightly after the previous one.
fc-disintegration-start-point ScrollTrigger start syntax top top When the animation begins during the scroll, using GSAP ScrollTrigger syntax. The default starts it when the top of the element hits the top of the viewport.
fc-disintegration-end-point ScrollTrigger end syntax bottom top When the animation ends, also in ScrollTrigger syntax. The default ends it when the bottom of the element hits the top of the viewport.

Resources

Frequently asked questions

How do I make a disintegration effect in Webflow without code?
Clone the GSAP-based component, activate the ScrollTrigger plugin, and add the fc-disintegration="component" attribute to the element you want to scatter. The script reads your attributes and handles all the canvas work, so you never edit JavaScript.
Does the disintegration effect work with Webflow CMS content?
Yes. Because the script targets any element carrying the component attribute, you can place it inside a Collection Item and it behaves exactly like the static version. Just avoid running it on every item at once — it is resource intensive.
Why do the fragments spill outside the section?
The effect generates real DOM elements — canvases — that take up space, so if the parent does not clip them they overflow the viewport. Set overflow: hidden on the surrounding section to keep every fragment contained.
Is a scroll disintegration effect bad for performance?
It can be, since each instance creates a batch of canvases and processes pixels on scroll. Keep it to one to three key visuals per page, use images under roughly 900px wide, and lower the fragment count if you need it lighter.
Does the disintegration effect keep image alt text for accessibility?
It does. When the script replaces the original image with its canvas version it captures the original alt text and reassigns it to the generated image, so screen readers announce it exactly as before.

← Back to the course

Also part of these courses