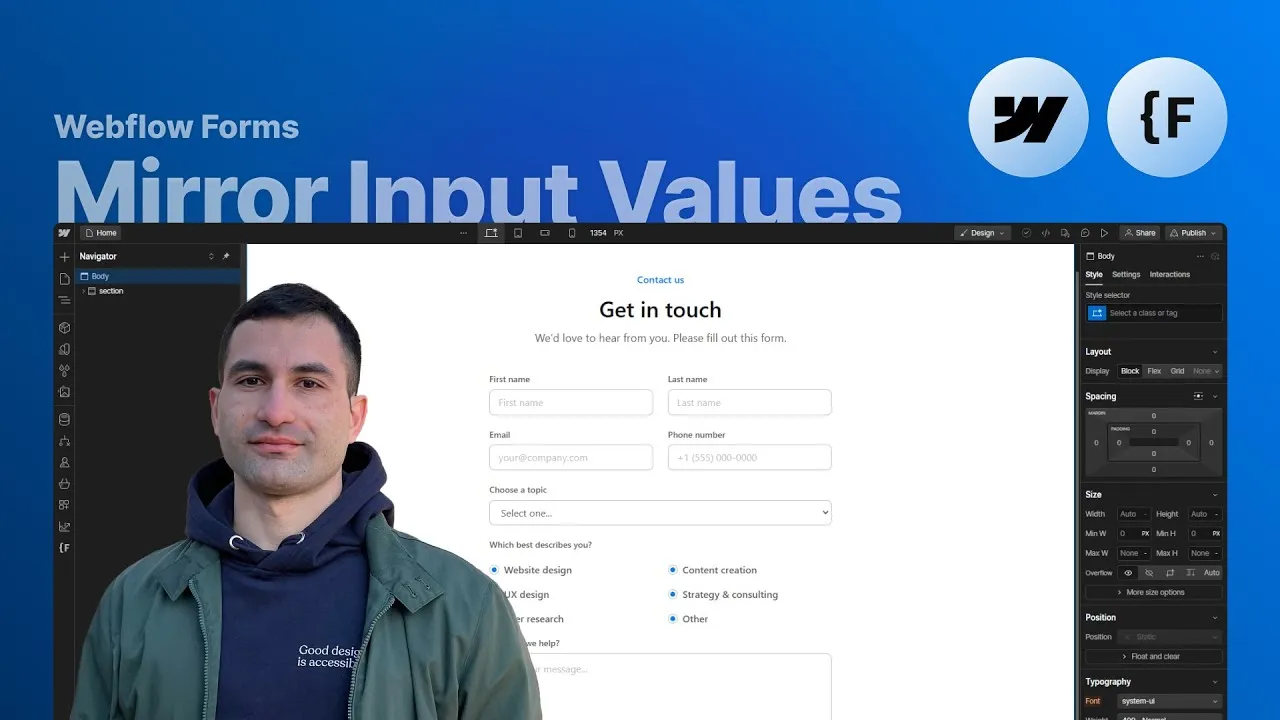
Build a Webflow form where one field mirrors into another in real time: type your name and watch it appear inside a greeting, see a message preview update as you write it, or have a shipping address copy itself into the invoice fields. You get all of it with Finsweet’s Mirror Input attribute — and not a single line of code.
The whole thing runs on one attribute with two roles. You mark the field people type into as the trigger, mark the field that should echo it as the target, and Finsweet keeps them in sync as the user types. It works with text inputs, text areas, selects, radio buttons, and checkboxes, so the same tiny setup covers everything from a personalized hello to a full duplicate-fields pattern in a checkout.
Best of all it’s genuinely fun to put together — and once you’ve wired one pair, you already know how to wire ten.
How it works
One attribute, two roles. Mirror Input works by pairing fields. On the field the user actually types into, you set fs-mirrorinput-element to trigger; on the field that should echo it, you set the same attribute to target. That’s the entire relationship — as someone types in the trigger, the value is copied into the target in real time. There’s no script to configure and no IDs to wire up.
Numbering keeps pairs from colliding. The moment you want more than one mirror on a page, a plain trigger/target pair isn’t enough — every trigger would feed every target. So you number them: the first pair stays trigger/target, the next is trigger-2/target-2, then trigger-3/target-3, and so on. The suffix is the glue. A target only listens to the trigger that shares its number, so target-4 mirrors trigger-4 and nothing else. Match the numbers on both sides and everything just works.
Your target usually shouldn’t be a normal form field. In most of these use cases the target is a display — a greeting, a postcard preview — that you don’t want people editing. Dropping a real Webflow input there would be clunky, so instead you take a plain Webflow custom element and turn it into an input yourself: in the element settings, set the tag to input, add a type attribute of text, and add readonly (no value needed) so it shows the mirrored text but can’t be typed into. For a mirrored message you do the same but set the tag to textarea.
It’s not just text. Mirror Input handles text inputs, text areas, selects, radio buttons, and checkboxes — which is exactly what makes the duplicate-fields pattern work. The classic example is “invoice address same as shipping”: the shipping street and prefecture are triggers, the invoice street and prefecture are the matching targets, and the values copy across the moment they’re entered — while the user can still override the invoice side if the two addresses differ. One small polish worth knowing: in the greeting example, the gap after “Hello” only appears once the name isn’t empty. That’s the one bit of custom code in the whole project, and it’s shorter than you’d expect:
<script>
  const mirrorInputTrigger = document.querySelector('[fs-mirrorinput-element = trigger]')
  const sizeText = document.querySelector('[mirrorinput-element = size]')

  mirrorInputTrigger.addEventListener("input", (e) => {
    sizeText.innerText = e.target.value

    if (e.target.value !== "")
      sizeText.style.marginLeft = '0.3rem'
    else
      sizeText.style.marginLeft = '0'
  });
</script>
Two details are worth noticing. The gap isn’t a space character at all — it’s a 0.3rem left margin toggled on and off, which is why it never leaves a stray whitespace hanging when the field is empty. And the display element is found through mirrorinput-element="size", a plain custom attribute without the fs- prefix: it’s this script’s own hook, not a Finsweet one, so it can’t collide with the attribute driving the mirroring.
How to use it
-
Clone the project. Grab the Webflow cloneable so you have the three worked examples — greeting, message preview, and duplicate fields — already set up to inspect.
-
Set up the trigger. On the field people type into (a text input, text area, or select), open the element settings and add the attribute
fs-mirrorinput-elementwith a value oftrigger. -
Build the target as a display. Add a Webflow custom element where the value should appear. In its settings, set the tag to
input(ortextareafor a message), add atypeattribute oftext, and addreadonlyso it can’t be edited. Then give itfs-mirrorinput-elementwith a value oftarget. -
Match the pair. For a single mirror,
triggerandtargetare enough. For more pairs on the same page, number them consistently —trigger-2withtarget-2,trigger-3withtarget-3— making sure the number at the end of the trigger’s value matches the number on its target. -
Publish and test on the live link. Mirror Input runs on the published site, so hit Publish and open the live URL — as you type in a trigger, its target updates instantly.
-
Use it with intention. Mirror only where it helps the user, and label linked fields identically (Street to Street, Prefecture to Prefecture) so the connection is clear and nobody loses track of what’s copied from where.