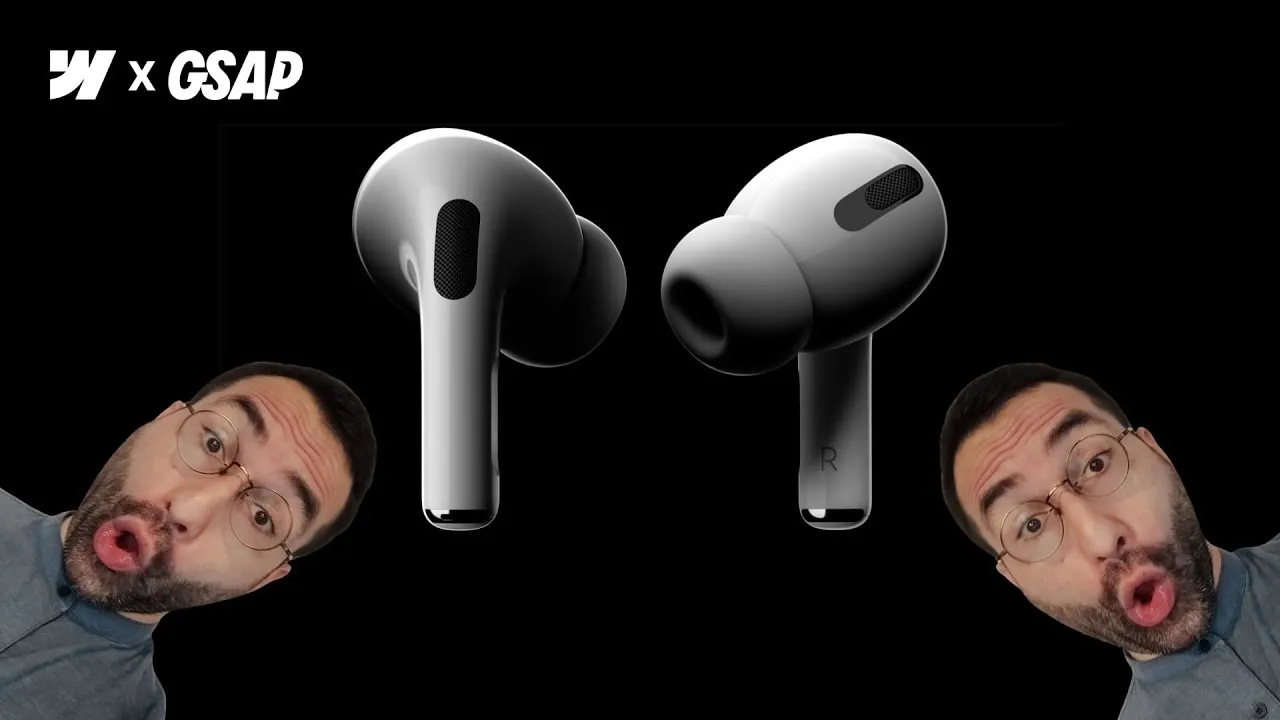
You can recreate Apple’s iconic AirPods Pro scroll animation in Webflow with nothing but a sequence of still images painted onto a canvas — no video, no WebGL, no Lottie. Apple pulled it off with 147 frames extracted from a roughly six-second clip, served one at a time as you scroll to fake perfectly fluid motion. This lesson rebuilds that exact effect from scratch, driven by GSAP ScrollTrigger.
The work splits cleanly into two halves. First, the asset pipeline: extract frames from a video, compress them, upload them to Webflow, and — the clever part — pull their URLs back out in order using the Webflow Data API instead of copying 144 links by hand. Second, the effect itself: a small, configurable script that draws the right frame onto a canvas as your scroll progress changes, controlled entirely by HTML attributes so you never have to touch the code.
Everything here is clonable, and the script is done for you. What actually matters is understanding the moving parts, so you can point this at your own animation and tune it to feel right.
How it works
The illusion. There’s no video playing. A <canvas> element is a blank, programmable surface, and the script draws a single frame onto it — then, as you scroll, it swaps that frame for the next one. Do that fast enough across ~150 images and your eye reads it as smooth motion. A source clip of about six seconds is ideal: at 24fps that’s roughly 144 frames, which is enough visual progression for a fluid scroll-linked animation while keeping the image count manageable.
The asset pipeline, and two quirks. You extract the frames with a free tool by setting a frame count and a distance between frames in milliseconds (for 6,000ms at 144 frames, that’s ~40ms apart). Before uploading, you compress them — and this isn’t only about weight. Webflow will silently discard images that are visually identical, even under different names, which happens constantly at the still start or end of an animation; compressing nudges each frame’s bytes just enough that the duplicates survive. Once uploaded, you let Webflow recompress everything to AVIF and move all the frames into a folder named exactly frames, so you can isolate them from the rest of your assets later.
The URL problem. Webflow renames every asset on upload — 00001.png becomes something unpredictable, and only the bit after the underscore is yours. So you can’t guess the CDN URLs. Instead you ask the Webflow Data API: one call lists your asset folders (which includes the IDs of the images inside each), a second call lists the assets themselves (with their full CDN URLs). You run both through Postman, paste the JSON responses into the generator tool, and it hands you a clean, ordered array of just the URLs inside your frames folder. Because the API returns only 100 assets per request, a project with ~150 frames needs a second call with an offset of 100 to fetch the rest — the tool merges the two batches for you.
The runtime. On the page, a tall section (e.g. 300vh) carries the two key attributes: fc-image-scrubbing="component" and fc-image-scrubbing-urls holding your array. Inside it, a position: sticky container at 100vh keeps the animation pinned to the viewport while you scroll through the section. The canvas fills that container. When the page loads, the script finds those two attributes, splits the URL list into an array, loads the images, watches scroll progress with ScrollTrigger, and draws the correct frame on every update — also handling high-DPI screens and responsive fitting. Because the canvas means nothing to a screen reader, it’s marked aria-hidden, and a visually-hidden paragraph beside it carries the same message in text.
How to use it
-
Prepare your video. Keep it around six seconds and a reasonable resolution (1080p is plenty). Avoid alpha/transparency unless you truly need it — it makes frames heavy.
-
Extract the frames. In the frame extractor, upload the video and set the frame count (e.g. 144) and the distance between frames in milliseconds (≈ total duration ÷ frame count, so ~40ms for a 6s clip). Extract, then download all.
-
Compress them. Run the whole set through the compression tool — it keeps the original file names and handles a large batch at once. This both lightens the payload and prevents Webflow from dropping identical frames as duplicates.
-
Upload to Webflow. Add every frame to the Assets panel, select all, and use Compress selected assets → AVIF to let Webflow shrink them further. Then create a folder named exactly
framesand move all the images into it (the name matters — the tool relies on it). -
Fetch the URLs via the API. In the Webflow API docs, find list asset folders and copy the endpoint. In Postman, paste it, replace
site_idwith your project’s Site ID (Site settings → Overview), and under Authorization add a read-only API token as a Bearer token. Send it, copy the response, and paste it into the generator tool. Then changeasset_folderstoassetsin the URL, send again, and paste that response in too; click generate array. For more than 100 assets, add a query parameteroffset = 100, send, and paste the second batch to merge them. -
Build the layout. Create a section at
300vhand give itfc-image-scrubbing="component"plusfc-image-scrubbing-urlsset to the copied array. Inside, add a container with padding0, height100vh, andposition: sticky; top: 0. Drop a custom element inside, set its tag tocanvaswith width/height100%andaria-hidden="true". Add a visually-hidden paragraph below it describing the animation for screen readers. -
Wire up the script and tune it. The clonable project includes the scrubbing script as an embed and loads GSAP + ScrollTrigger — make sure those are present. Then adjust the behavior with the attributes in the table above:
fit(contain/cover), orientation-specificfit-landscape/fit-portrait,fps, and the ScrollTriggerstart-point/end-point. Publish and scroll to see the sequence play in sync.