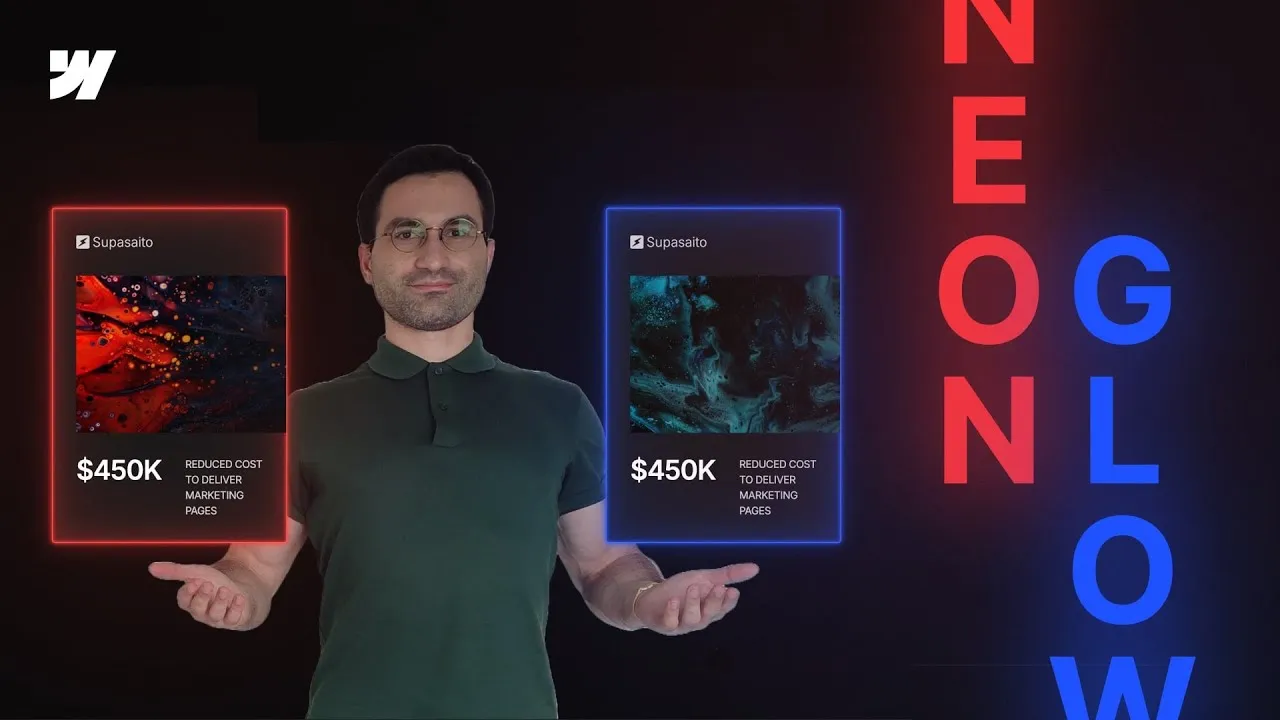
Recreate the retro neon glow effect that once lit up Webflow’s own website — that soft, glowing outline that makes a card feel alive on hover — as a fully parametric system in Webflow. Instead of hand-picking five colors and stacking box shadows by eye, you define one base color and let CSS variables plus the color-mix() function generate every layer of the glow for you.
That single decision is what makes this worth building the “hard” way. Because every glow color derives from the base, testing a whole new palette — pink, gold, green, red — takes about thirty seconds: you change one value and everything downstream updates itself. Add Webflow’s variable modes and component variants on top, and you can switch entire color themes per card with a click, no messy combo-class sprawl.
The result is clean, reusable, and scalable — a design system that looks stunning in any color and stays trivial to maintain.
How it works
The glow lives entirely on the card, and the trick is that it’s pre-wired but invisible. In the base state the card has a transparent border and six box shadows — three inner, three outer — all with their offsets set to zero and their color set to transparent. They’re completely off. Two transitions (one for box-shadow, one for border-color, both 300ms on a cubic ease-out) mean the whole effect is really just those shadows and the border fading from transparent to color on hover. Nothing appears or disappears; values simply animate on.
The colors come from a variable collection (renamed “Neon collection” in the demo) built around a single independent variable, neon/base — a bluish purple to start. Here’s the key idea a lot of people miss: neon/base is never assigned to any CSS property. It exists only as a source. Every other variable is derived from it with color-mix(): neon/strong keeps 96% of the base (a vivid color for the sharpest edge shadows), neon/mid keeps 30% (softer, for the mid-depth shadows), neon/soft keeps 20% (a faint, airy hue for the widest, most atmospheric shadows), and neon/border mixes the base with about 15% white so the border reads a touch lighter than the glow.
color-mix() blends two colors in a color space you specify. The pattern is color-mix(in <space>, <color1> <percentage>, <color2>). This setup uses OKLCH, which is perceptually uniform — equal numeric steps look equally gradual to the eye, so the glow layers fade naturally. Notice you only state one percentage: tell the browser to keep 96% of the base mixed with transparent, and it infers the remaining 4% comes from that transparent second color. No need to write both.
The payoff is in the last two features. A variable mode is a saved preset of the same variables with different values — create a mode called “pink”, change neon/base to deep pink, and because everything derives from the base, all the glow layers recompute for free. One important nuance: assigning a mode to an element actually sets it for the class on that element, so every element sharing that class updates together. To vary the color per card, you either use combo classes (quick, but not elegant) or — the scalable way — turn the card into a component, make one variant per mode, and pick the color from the variant dropdown on each instance.
How to use it
-
Clone the project. Grab the Webflow cloneable — it ships with the full card layout, the Neon collection, all the modes, and the component variants already set up so you can pull it apart and see how it fits together.
-
Create the base variable. Open the variables panel (press
V), and in a color collection add a color variable namedneon/base. The slash puts it in aneongroup. Give it any starting hue — the demo uses a bluish purple. You’ll never assign this one to a property directly. -
Derive the glow colors with color-mix(). Add four more color variables in the same group and set each with
color-mix()in the OKLCH space, mixingneon/basewithtransparent:neon/strongat 96%,neon/midat 30%,neon/softat 20%. Forneon/border, mix the base with white at about 15% instead. -
Wire up the hover state. Leave the base state untouched. On the card’s hover state, set the border color to
neon/border, then set the six box shadows to the variables — the crisp edge shadows useneon/strong, the mid-depth ones useneon/mid, and the wide, diffuse ones useneon/soft. Because the base state already has transparent shadows and the transitions, the glow now fades in on hover. -
Add color themes as modes. Back in the variables panel, click new mode, name it (pink, gold, green, red…), leave the type on manual, and change only
neon/base. Every derived color updates automatically for that mode. -
Apply modes per card with variants. Turn the card into a component (
Cmd/Ctrl + Shift + A). In component edit mode, add one variant per mode and assign each variant its matching variable mode. Exit editing, then use the variant dropdown in the properties panel to give each instance its own glow color.